
Decoupage Pumpkin DIY

I come from a long line of decoupagers. My mother taught me how to decoupage when I was very young. My grandmother also decoupaged. I don’t know what medium she used but I can tell you, as a child of the 60’s, I was all about the Mod Podge - which I think is short for Modern Decoupage. It is so much fun to use because it is very forgiving. It gets messy and then dries clear. It’s a glue and a sealer and a finisher! I can remember collaging and decoupaging many things in our Camp Fire Girls group, on Saturdays just for fun, during the long lazy days of summer and in the hectic days of December making Christmas gifts. I know I have kept some of my masterpieces and I will dig them out and show you one day.
Today, however, I want to show you how I made this fun decoupaged pumpkin for our Thanksgiving table. I started with a package of beautiful paper napkins that I found at the grocery store, of all places. I bought a papier-mache pumpkin on the sale aisle at Target (it actually came in a two pack and wait until you see what I did with the other one - stay tuned). I had a can of gold spray paint in my stash of craft supplies. Mod Podge and a sponge brush round out the supply list.
Now is a good time to tell you that you don’t have to use a papier-mache pumpkin. You could get a real pumpkin or a ceramic pumpkin or a plastic pumpkin or any kind of pumpkin you can find out there with a smooth surface and, ironically, just rough up the surface a bit with sandpaper so it’s not too slippery.
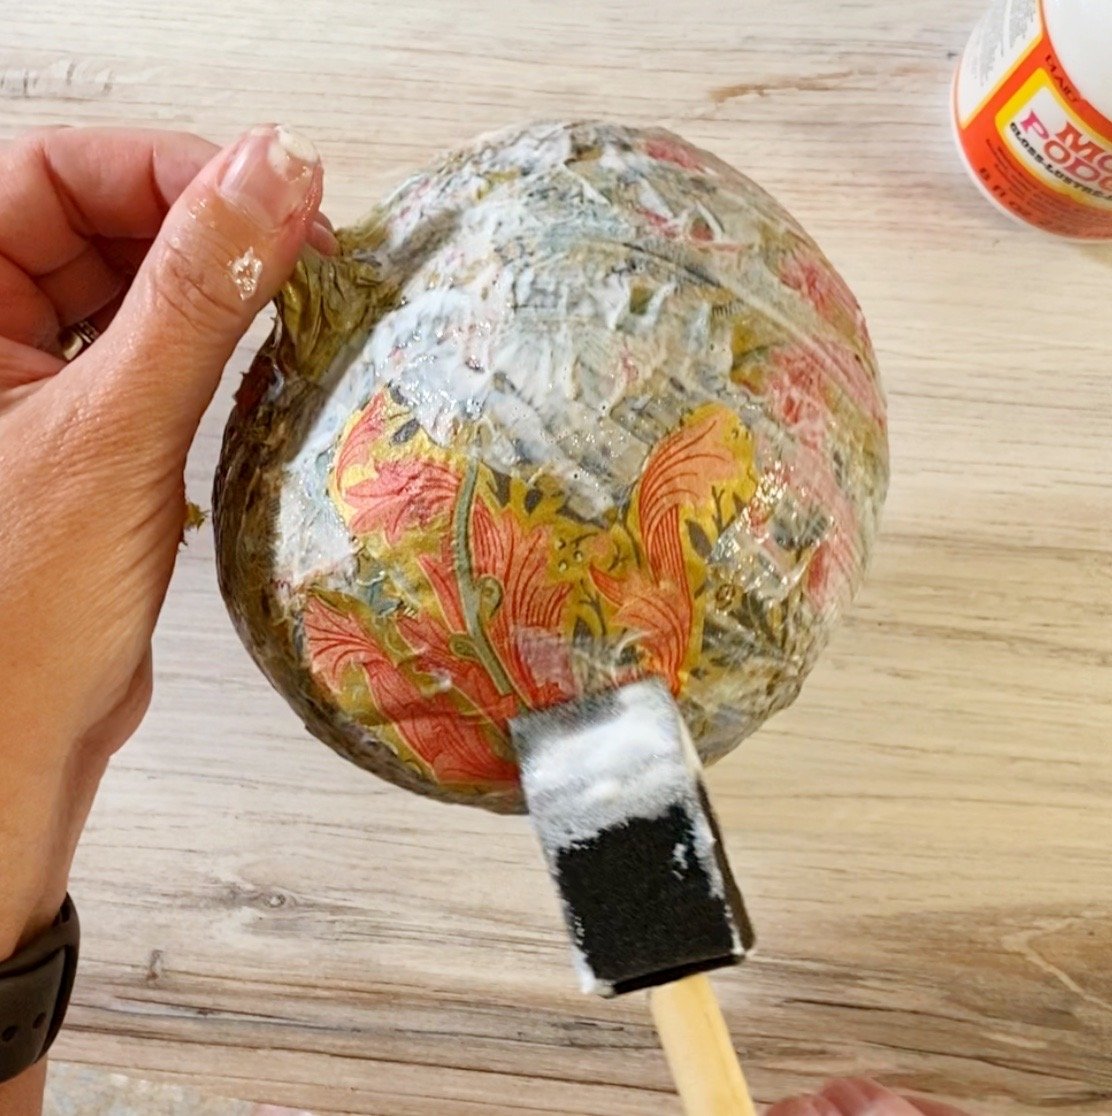
I started by spraying the entire pumpkin gold. This is not absolutely necessary. I just wanted to see gold peeking through if I missed a spot with my decoupaging. I am not a perfectionist.


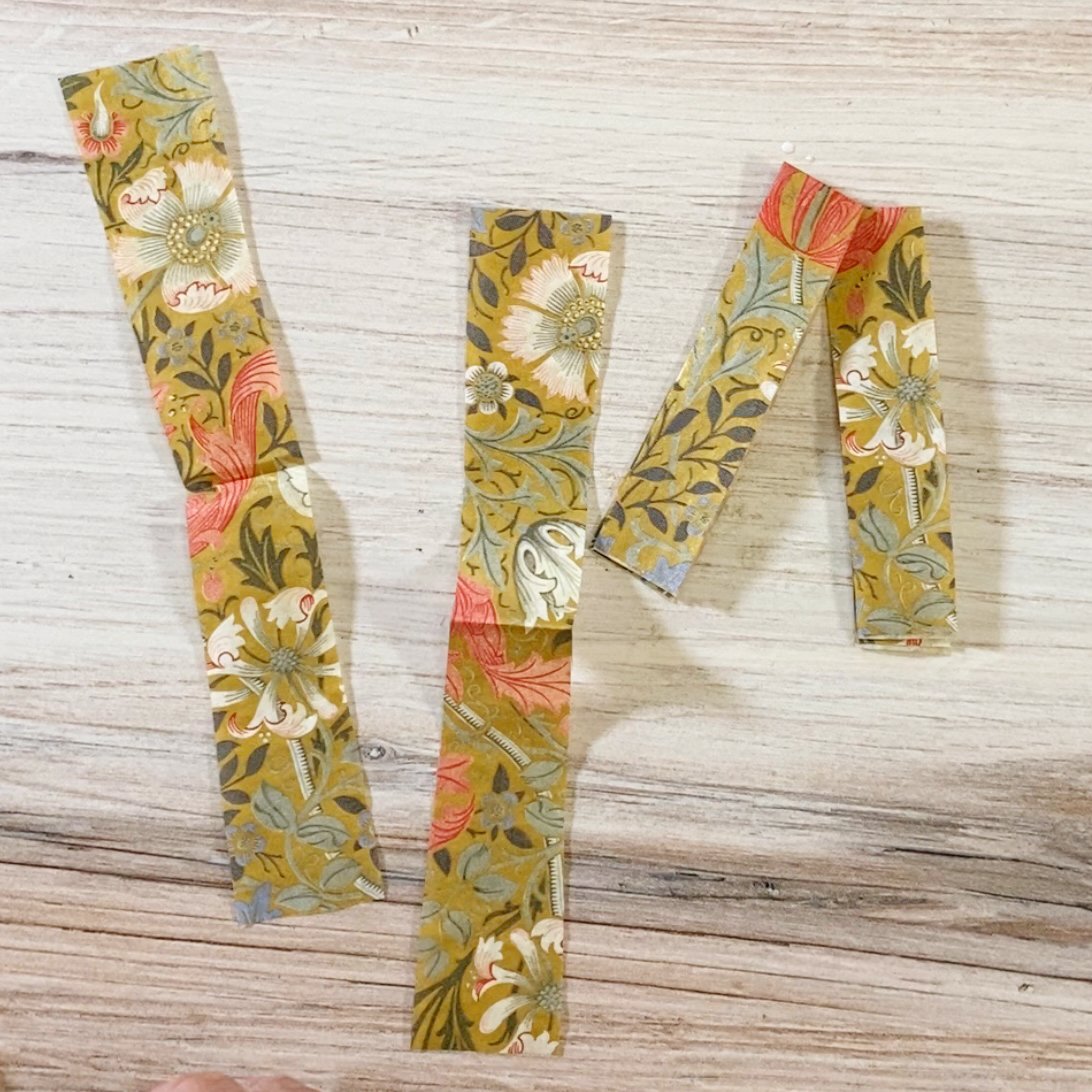
These beautiful napkins have a fancy embossed edge, which I did not want on my pumpkin so I trimmed it off.


I opened the napkin up and separated the plys (plies?). This was a 2-ply napkin but there are 3-ply napkins out there and maybe even 4-ply if you are really living high on the hog, so just keep separating the plies (plys?) (where are my teacher friends? Help a sister out here) until you have a very thin sheet of napkin with the design on it.


Then I cut the napkin into strips about an inch wide. I just eyeballed it. I made them about as wide as the ridges on the pumpkin. Some were bigger and some were smaller. It’s not super important how wide they are. I just thought it would be easier to make the napkin go on more smoothly if it were in strips rather than laying the whole napkin wrapped around the pumpkin.
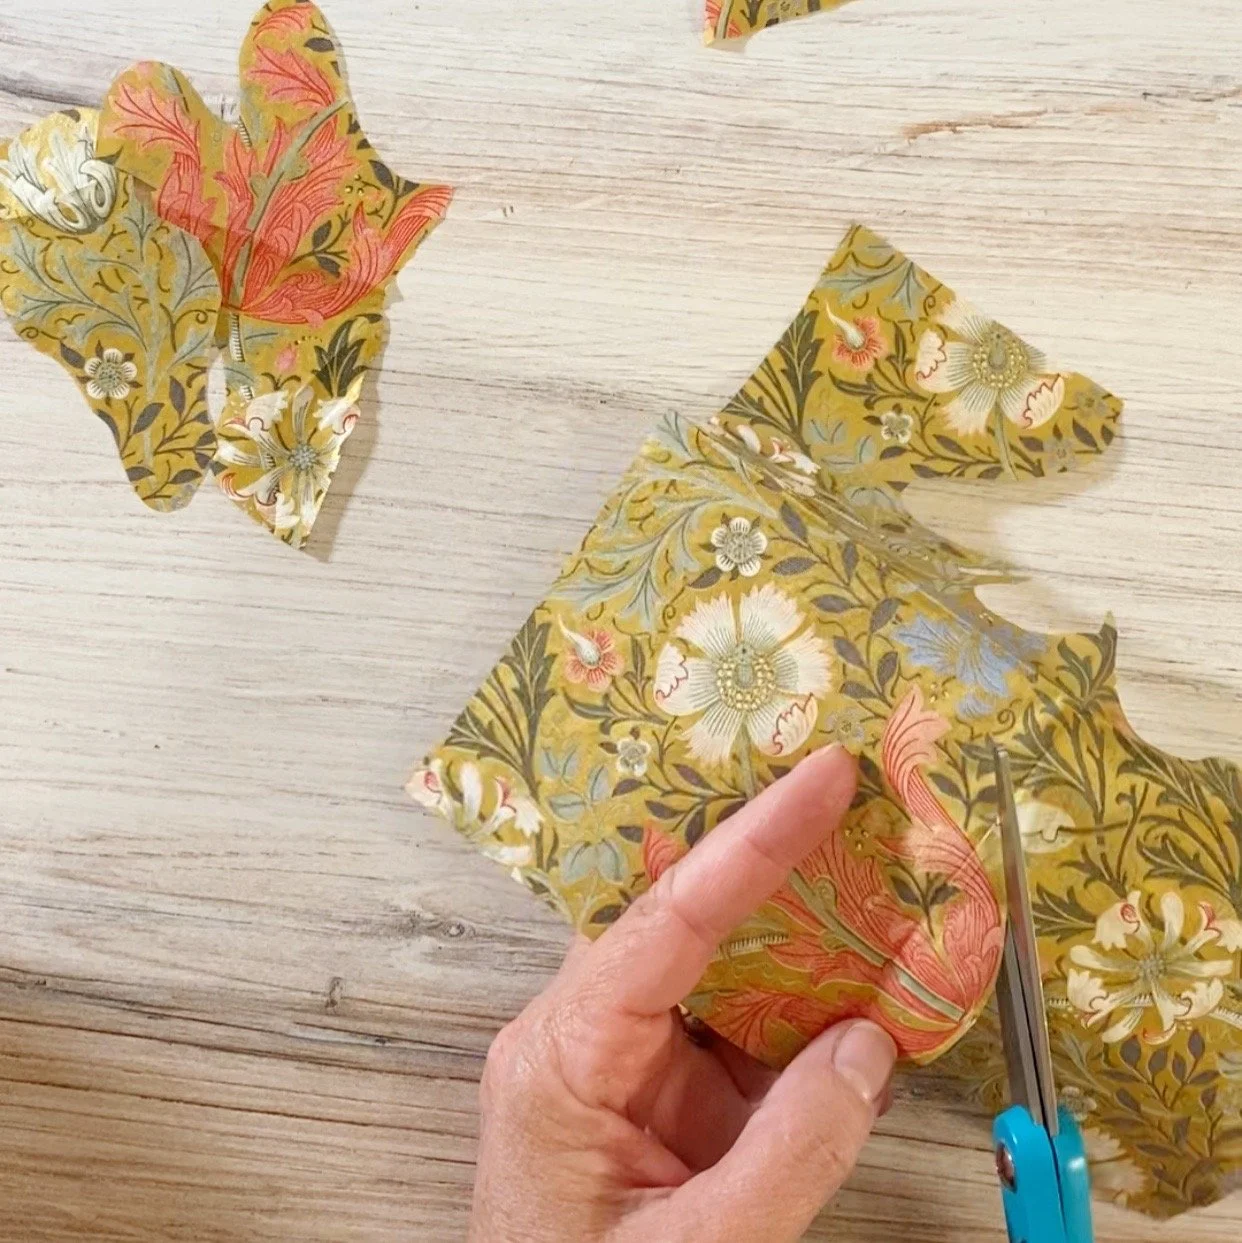
The design of these napkins lends itself to being cut up and reassembled. I also cut out some of the flowers to have whole flowers to glue on top of the base coat but I am not sure that mattered much in the end.
Brush some of the Mod Podge on the pumpkin and lay a strip on top. Brush more Mod Podge on top and the sides to glue the edges. Continue all around the pumpkin, putting the Mod Podge under the napkin strips and over the napkins strips. Just glop it on. After it dries you can glop on another coat and let dry and another and let dry and another and let dry. You get the idea, just keep going until you get the look you want. I just did one coat because I am lazy and I didn’t want it too shiny.


What was the first thing you ever decoupaged? And if you’ve never tried it, I think you should. I am here for you.